نرمافزار MasterCam یکی از قدیمی ترین نرمافزارهای تهیه مسیر ماشین کاری جهت دستگاه های CNC میباشد که ساخت شرکت CNC Software Inc است. این نرمافزار جهت نصب و استفاده نیاز به الزامات سختافزاری کمتری نسبت به نرمافزارهای مشابه دارد و با داشتن post processor قوی امکان تعیین انواع مسیرهای حرکت ابزار جهت فرز و تراش CNC را فراهم می نماید. MasterCam در واقع یک نرمافزار مدل سازی کامل است که wireframe geometry دوبعدی وسه بعدی و عملیات سطح را با ویرایش قدرتمند و ابزار تغییر شکل ترکیب میکند. MasterCam Mill که براساس MasterCam Design پایه ریزی شده است این امکان را به شما میدهد که تعداد عملیاتهای ماشین کاری مختلف و گسترده را ایجاد و مدیریت کنید. MasterCam بخشی به نام associativity برای پیوند دادن عملیاتهای ماشین کاری به هندسه به کار میگیرد. بنابراین وقتی هندسه قطعه تغییر میکند Tool Paths میتوانند به طور اتوماتیک احیا شوند.
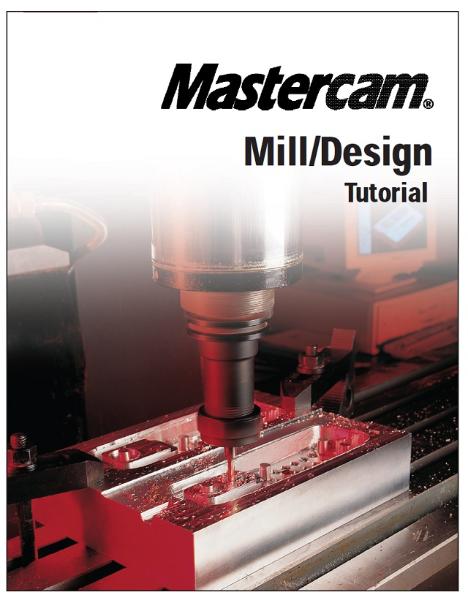
کتاب آموزش طراحی پروسه ماشینکاری و استخراج G کدهای دستگاه فرز Mill Machining در نرم افزار MasterCam، یک کتاب مفید و کاربردی از آموزش ماشینکاری فرزکاری در نرم افزار مسترکم می باشد. الگوی آموزشی این کتاب مبتنی بر آموزش با مثال می باشد. کتاب مشتمل بر 446 صفحه، در 19 فصل، به زبان انگلیسی روان و به همراه تصاویر رنگی هر دستور و نوار ابزارها، به ترتیب زیر گردآوری شده است:
Chapter 1: Introduction to Mastercam
- Using the sample parts
- If you need more help
- Additional resources
Chapter 2: Getting Started
- Exercise 1 – Learning the Mastercam interface
- Exercise 2 – Designing a rectangle
- Exercise 3 – Deleting the rectangle and using help
Chapter 3: Creating a 2D Part and Contour Toolpath
- Exercise 1 – Designing the part
- Exercise 2 – Creating the contour toolpath
- Exercise 3 – Making changes to the toolpath
Chapter 4: Copying and Transforming Operations
- Exercise 1 – Creating roughing and finishing passes
- Exercise 2 – Creating a contour chamfer
- Exercise 3 – Mirroring the part and toolpath
Chapter 5: Rotating Geometry and Toolpaths
- Exercise 1 – Creating the geometry
- Exercise 2 – Cutting the slots
- Exercise 3 – Rotating a toolpath
Chapter 6: Creating Drill Toolpaths
- Exercise 1 – Creating a basic drill toolpath
- Exercise 2 – Changing the size of a drill hole
- Exercise 3 – Drilling at different Z depths
Chapter 7: Working in 3D
- Exercise 1 – Creating 3D geometry
- Exercise 2 – Drawing the bottom of the part
- Exercise 3 – Creating a drill toolpath in the new system view
Chapter 8: Using Circle Toolpaths
- Exercise 1 – Creating a custom view
- Exercise 2 – Machining the outside contour
- Exercise 3 – Machining the holes and slot
- Exercise 4 – Using Auto drill to create multiple drilling operations
Chapter 9: Facing and Pocketing Toolpaths
- Exercise 1 – Facing the stock with high-speed loops
- Exercise 2 – Comparing different pocket cutting methods
- Exercise 3 – Specifying an entry point
- Exercise 4 – Using contour ramp
Chapter 10: Pocket and Contour Toolpath Techniques
- Exercise 1 – Remachining pockets
- Exercise 2 – Using depth cuts, island facing, and tapered walls
- Exercise 3 – Modifying a toolpath using the Toolpath Editor
Chapter 11: Reusing Operations
- Exercise 1 – Creating an operations library
- Exercise 2 – Importing operations
- Exercise 3 – Using subprograms
Chapter 12: Choosing a Surface Type
- Draft
- Ruled
- Loft
- Revolved
- Swept
- Coons
- Fillet
- Trim, To surfaces
- Trim, Flat boundary
- Offset
- Surface Blend
- Fillet Blend
Chapter 13: Creating and Machining Surfaces
- Exercise 1 – Creating surfaces
- Exercise 2 – Creating a rough parallel toolpath
- Exercise 3 – Creating a finish parallel toolpath
- Exercise 4 – Creating a finish leftover toolpath
- Exercise 5 – Creating a finish pencil toolpath
Chapter 14: Surface Roughing
- Exercise 1 – Creating a rough pocket toolpath
- Exercise 2 – Creating a rough plunge toolpath
- Exercise 3 – Creating a restmill toolpath
- Exercise 4 – Creating a high speed pocket toolpath
Chapter 15: Surface Finishing
- Exercise 1 – Using finish steep and shallow toolpaths
- Exercise 2 – Creating a finish radial toolpath
- Exercise 3 – Creating a finish project toolpath
- Exercise 4 – Creating a finish contour toolpath
- Exercise 5 – Creating a contour shallow toolpath
- Exercise 6 – Creating a finish scallop toolpath
- Exercise 7 – Creating a finish flowline toolpath
Chapter 16: Creating Multiaxis Toolpaths
- Exercise 1 – Creating a curve 5-axis toolpath
- Exercise 2 – Creating a swarf 5-axis toolpath
Chapter 17: Machining Solids
- Exercise 1 – Machining the pocket
- Exercise 2 – Drilling the holes
Chapter 18: Glossary
Chapter 19: Mastercam Shortcut Keys

جهت دانلود کتاب آموزش طراحی پروسه ماشینکاری و استخراج G کدهای دستگاه فرز Mill Machining در نرم افزار MasterCam، بر لینک زیر کلیک نمایید:
آموزش مسترکم، کتاب آموزش طراحی پروسه ماشینکاری و استخراج G کدهای دستگاه فرز Mill Machining در نرم افزار MasterCam
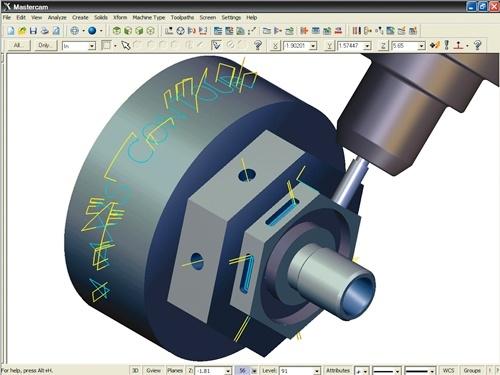
MasterCam یکی از نرم افزارهای کمپانی CNC Software در زمینه طراحی ابزارهای ماشینی و ماشین آلات مربوطه در تولید قطعات صنعتی است که با هدف مطرح شدن به عنوان یکی از بهترین نرم افزارهای موجود در زمینه طراحی CAD/CAM تولید شده است. در واقع MasterCam یک برنامه نرم افزاری ساخت به کمک رایانه یا کَم (CAM) می باشد که توسط برنامه نویسان CNC و مهندسین مکانیک فعال در زمینه ماشینکاری قطعات مورد استفاده قرار می گیرد. این نرم افزار مانند دیگر برنامه های طراحی مهندسی (CAD) به حرفه ای های دنیای صنعت فرز، تراشکاری، برش کاری و ماشین کاری کمک می کند تا به مدلسازی جامدات و سطوح و طراحی دو بعدی/سه بعدی اجزای مکانیکی و قطعات صنعتی و سپس برش دادن و یا ماشین کاری بر روی قطعات صنعتی پرداخته و عملکرد آن ها را بررسی نمایند.
قابلیت های کلیدی نرم افزار MasterCam عبارتند از:
- CAD برای برنامه نویسان CAM
- طراحی دو بعدی و سه بعدی قطعات صنعتی
- ابزارهای مدلسازی جامدات و سطوح
- دارای امکانات و ابزارهای لازم زمینه طراحی و ماشینکاری CAD/CAM
- برش بر روی قطعات، ماشین کاری بر روی قطعات صنعتی
- پیش نمایش و ویرایش آسان مدل ها و طرح ها
- ساخت قطعات با کیفیت بالا و ...
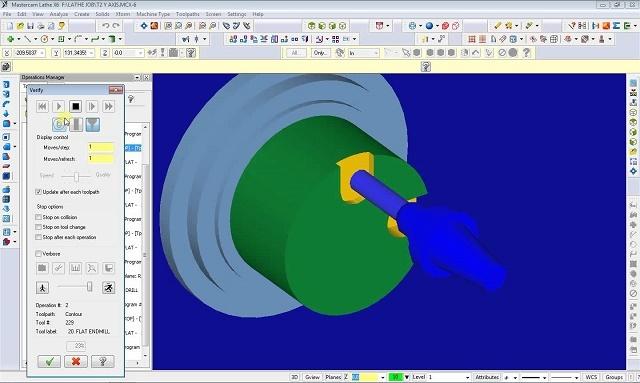
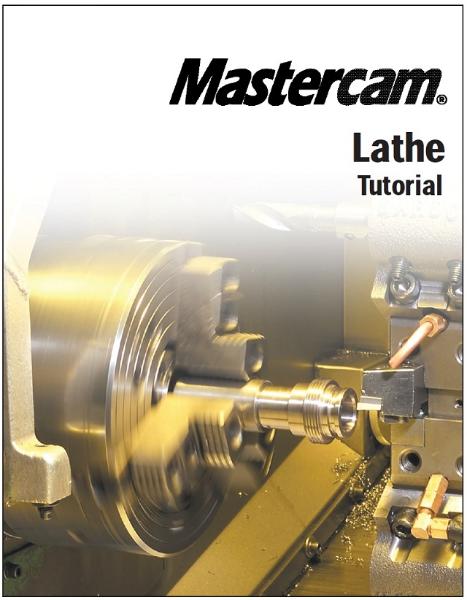
کتاب آموزش طراحی پروسه ماشینکاری و استخراج G کدهای دستگاه تراش Lathe Machining در نرم افزار MasterCam، یک کتاب مفید و کاربردی از آموزش ماشینکاری تراشکاری در نرم افزار مسترکم می باشد. الگوی آموزشی این کتاب مبتنی بر آموزش با مثال می باشد. کتاب مشتمل بر 294 صفحه، در 21 فصل، به زبان انگلیسی روان و به همراه تصاویر رنگی هر دستور و نوار ابزارها، به ترتیب زیر گردآوری شده است:
Chapter 1: Introduction to Mastercam Lathe
- Using the sample parts
- If you need more help
- Additional resources
Chapter 2: Setting Up a 2-Axis Turning Job
- Exercise 1 – Starting Mastercam Lathe
- Exercise 2 – Opening the part
- Exercise 3 – Setting the tool boundaries
- Exercise 4 – Setting the reference points
- Exercise 5 – Saving the part and exiting Mastercam Lathe
Chapter 3: Facing a Part
- Exercise 1 – Selecting a facing tool
- Exercise 2 – Entering the face toolpath parameters
- Exercise 3 – Saving the part automatically
- Exercise 4 – Backplotting to check the toolpath
Chapter 4: Roughing the OD
- Exercise 1 – Chaining the geometry
- Exercise 2 – Entering the quick rough parameters
- Exercise 3 – Controlling the entry and exit moves
- Exercise 4 – Backplotting to check the toolpath
- Exercise 5 – Saving the part with a description
Chapter 5: Drilling the ID
- Exercise 1 – Creating a spot drill toolpath
- Exercise 2 – Creating a drill toolpath
- Exercise 3 – Backplotting to check the toolpath
- Exercise 4 – Making a change to the drill toolpath
- Exercise 5 – Backplotting the updated toolpath
Chapter 6: Finishing the OD
- Exercise 1 – Creating a custom tool
- Exercise 2 – Entering the quick finish parameters
- Exercise 3 – Backplotting to check the toolpaths
- Exercise 4 – Modifying the part
Chapter 7: Creating an OD Groove
- Exercise 1 – Defining a groove using one point
- Exercise 2 – Entering the groove parameters
- Exercise 3 – Backplotting to check the toolpaths
- Exercise 4 – Posting the toolpaths
- Exercise 5 – Exporting the toolpaths to a library
Chapter 8: Using Operation Libraries
- Exercise 1 – Importing toolpaths from a library
- Exercise 2 – Selecting new geometry
- Exercise 3 – Backplotting to check the toolpaths
Chapter 9: Grooving and Finishing the ID
- Exercise 1 – Defining a groove using two points
- Exercise 2 – Entering the groove toolpath parameters
- Exercise 3 – Copying a finish toolpath
- Exercise 4 – Modifying the new finish toolpath
Chapter 10: ID and OD Threading
- Exercise 1 – Creating an ID thread using thread tables
- Exercise 2 – Backplotting the ID thread
- Exercise 3 – Creating an OD thread using a thread formula
- Exercise 4 – Backplotting the OD thread
Chapter 11: Machining a Casting
- Exercise 1 – Chaining the OD for the rough toolpath
- Exercise 2 – Entering the rough parameters
- Exercise 3 – Defining a groove using a chain
- Exercise 4 – Entering the groove parameters
- Exercise 5 – Copying the finish toolpath
- Exercise 6 – Entering the finish parameters
- Exercise 7 – Viewing a model of the stock
Chapter 12: Machining on a VTL
- Exercise 1 – Checking the job setup parameters
- Exercise 2 – Entering the face toolpath parameters
- Exercise 3 – Chaining the OD
- Exercise 4 – Entering the quick rough parameters
- Exercise 5 – Modifying the quick rough toolpath
- Exercise 6 – Entering the quick finish parameters
- Exercise 7 – Modifying the quick finish toolpath
- Exercise 8 – Using levels
Chapter 13: Adjusting and Moving the Part
- Exercise 1 – Flipping the stock
- Exercise 2 – Transferring stock between spindles
- Exercise 3 – Positioning the stock, tailstock, and steady rest
Chapter 14: Setting Up a Mill/Turn Job
- Exercise 1 – Setting the tool boundaries
- Exercise 2 – Setting the spindle/turret and live tooling
- Exercise 3 – Setting the reference points
- Exercise 4 – Importing toolpaths and geometry
Chapter 15: Creating a Cross Contour
- Exercise 1 – Chaining the first Y-axis contour
- Exercise 2 – Entering the cross contour parameters
- Exercise 3 – Copying the cross contour toolpath
- Exercise 4 – Chaining the second Y-axis contour
- Exercise 5 – Backplotting with C-axis rotation
- Exercise 6 – Machining the C-axis slots
Chapter 16: Creating a Face Contour
- Exercise 1 – Chaining the contours
- Exercise 2 – Entering the face contour parameters
- Exercise 3 – Adjusting the depth of the face contour
Chapter 17: Cross Drilling
- Exercise 1 – Selecting the C-axis drill points
- Exercise 2 – Entering the cross drill parameters
- Exercise 3 – Copying the cross drill toolpath
- Exercise 4 – Modifying the cross drill parameters
- Exercise 5 – Cross drilling the Y-axis holes
- Exercise 6 – Backplotting to check the toolpaths
Chapter 18: Rotating a Mill Pocket Toolpath
- Exercise 1 – Chaining the pocket
- Exercise 2 – Entering the pocket parameters
- Exercise 3 – Rotating the pocket toolpath
- Exercise 4 – Verifying the toolpath
Chapter 19: Creating a C-Axis Contour
- Exercise 1 – Chaining the numbers
- Exercise 2 – Entering the C-axis contour parameters
- Exercise 3 – Backplotting to check the toolpath
Chapter 20: Glossary
Chapter 21: Mastercam Shortcut Keys
جهت دانلود کتاب آموزش طراحی پروسه ماشینکاری و استخراج G کدهای دستگاه تراش Lathe Machining در نرم افزار MasterCam بر لینک زیر کلیک نمایید:
آموزش مسترکم، کتاب آموزش طراحی پروسه ماشینکاری و استخراج G کدهای دستگاه تراش Lathe Machining در نرم افزارMasterCam